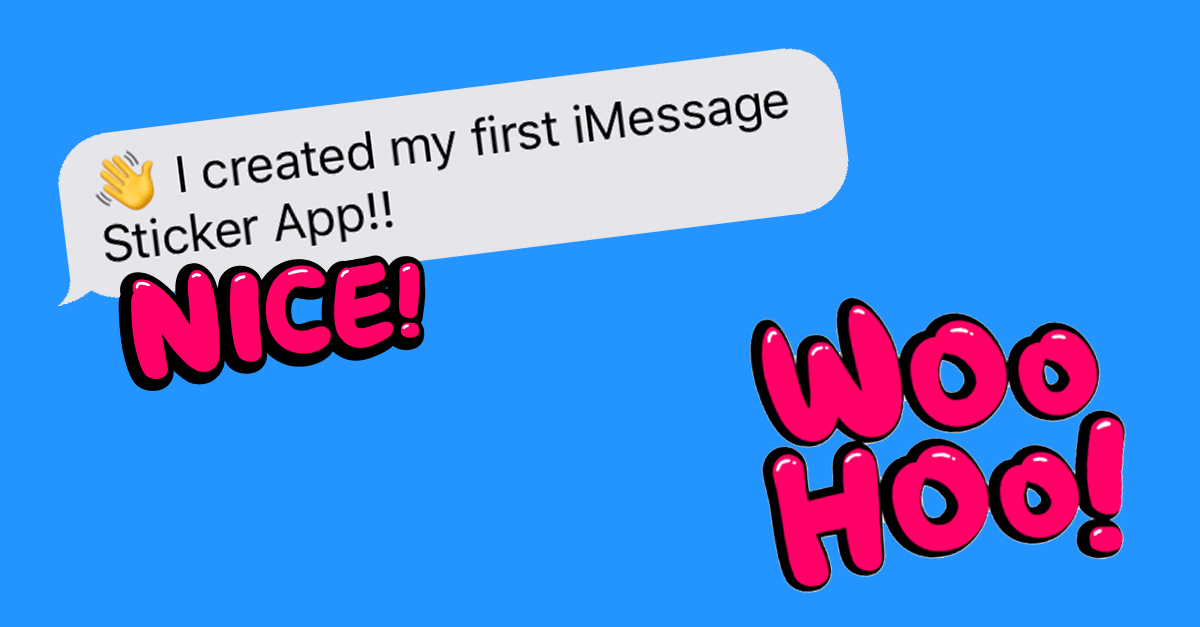
Creating an iMessage Sticker App in Xcode for the new iOS 10 is probably the easiest entry to the app development world. You literally don’t have to write a single line of code. It’s just drag-and-drop.
Here is a quick video walk through of the whole process in just about 2 minutes.
This is my first sticker app live in the app store – go check it out.
A few tips:
- Think about your App/Sticker name beforehand. Changing it later in the Xcode Project is tedious.
- If you get an error running the App on your iPhone check: Settings > General > Device Management > Select App from Developer Apps > Trust App.
Software:
- You’ll have to download Xcode of course.
- I used mostly Sketch for the asset-creation. You can try the software for 30 days.
- Download my free template for Sketch
The assets you’ll need to create for the sticker app
- The sticker set. Each sticker is an image in the format 408 x 408 px for the medium sized ones. Check out the detailed formats in Apples developer guide.
- The app icon images – the whole set is part of my sketch template that you can download.
- Later, if you want to prepare for submitting the app to the app store you’ll also need screenshots. Tipp: Just run the app in Xcode through the simulator – by pressing CMD + S you’ll be able to save a screenshot right to your desktop.
How to create animated stickers – GIF or APNG:
- You can either create a gif but I’d recommend the also supported APNG. The quality is much better.
- I worked with the software PNG Animator. It’s basic but it does the job. You create all the frames and PNG Animator puts them together in your desired timing.
