Every once in a while you’ll come across the task of sending a file that is simply to big for an E-Mail. Either your provider has a file-size limit or you realize that the upload would take forever, so you’re in need for an alternative.
Ge.tt to the rescue

Ge.tt is a simple little website that will give you exactly what you’re in need for: A simple interface, no need for an account, a big upload button, large 250Mb file-size limit and the best of it, you’ll get the download-link to your file even before it’s actually uploaded. Just be sure to keep the browser-window open until the upload is done.
You can send out that E-Mail with the Link to your file right away. The recipient will be presented an intermediate landing that instructs to wait until your upload is finished.
- Really quick
- No account needed
- 250MB file-size limit without account (2GB with account)
- Files accessible for at least 30 days
- Not that secure (I’ll get to that one later)
Wetransfer

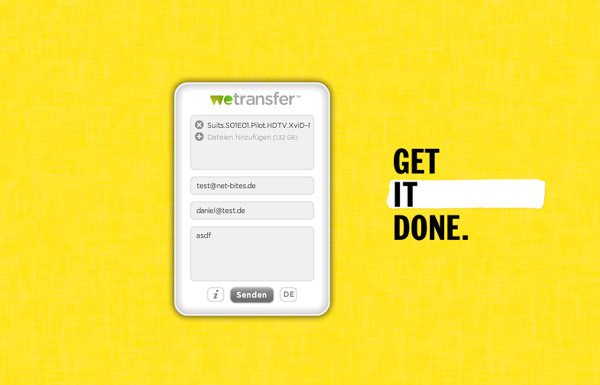
Wetransfer will do pretty much exactly what ge.tt does, only with two limitations. It won’t give you the download-link to your file until the download is finished. For me thats a huge downside because I really want to be able to forget about the task and not be forced to check back all the time until the upload is finished. The other downside: You won’t be able to upload anything before you accept their Terms of Service. It’s not that I don’t get why they have to do that, I just don’t read them anyhow, so it feels better not having to accept those terms.
- No account needed
- Not that quick (you’ll have to wait for your link)
- 2GB file-size limit without account!
- Files accessible for at least two weeks
- Also not that secure (hold your breath, I’ll get to it)
Dropbox
So you’ll ask. Why is Dropbox only your third choice? It’s because you’ll need an account there, so a bunch of you guys would first have to go through the process of getting a profile there, which takes some time. But nevertheless Dropbox is a great option for the task, especially if you’ll use it with a nifty little tool I came across.
Droplings (Mac only)

Droplings hooks into your Dropbox Public Folder and makes it really easy to upload a file to your account. Similar to ge.tt, it will also provide you with a download-link instantly. The little helper sits in your menu bar and waits for you to drop a file on it. Once you’ve done that it will drop your file into the public folder of your drobpox account and copy the public link to that file to your clipboard. So you head over to your E-Mail and hit CMD+V and you’re done!
- Account for Dropbox needed
- Really quick (together with Droplings)
- The file-size is only limited to your remaining dropbox space.
- Files are accessible as long as you keep them there (don’t want the public folder to fill up your account over time: Use Hazel to automatically clean it out after time)
- Also not thaat secure …
Security! What about it?
All those mentioned services provide you and the recipients of the link with a public URL to the file(s). So if that link accidentally spreads out into the wilds of the internet, your files are practically public until you delete them. Also: Theoretically someone could guess the link to your file, theoretically because that’s really really unlikely. Guessing something like 97OP2yMM98Z isn’t that easy especially when you have to guess many many times to get to something worthwhile.
So we’ll focus on the first threat. Someone unintentionally spreads that link. Best solution? Add another Security-Layer. Just encrypt the files you’re sending out when they are confidential.
How to encrypt your files quickly (on Mac)
The quickest option is to drop those files into an encrypted .zip File. You’ll have to use that scary black „terminal“ App but it’s quite easy, I’ll show you:
First, search for „terminal“ through Spotlight and open it up.

Then we’ll want to navigate to the folder, where we want the encrypted file to end up. Let’s say it’s on the Desktop. Type „cd desktop„ into the terminal and hit Enter.

Now we’ve successfully navigated to the desktop folder. Now for the actual encrypting of your file.
You’ll write: zip -ejr name-of-your-encrypted-file.zip
- name-of-your-encrypted-file.zip
This is the file that you get after encrypting. You can name it like you want, just be sure to add that .zip at the end and be sure to add a space after the .zip

Now just drag the file you want to encrypt into the terminal window. You should end up with something like this:

Hit Enter. You’ll be asked to enter a password (choose a secure one) twice. Once you’re done you should have your newly zipped, encrypted file on your desktop. Now you can happily share it. You just have to tell the recipients the password of your zip.